About SSO
Single Sign-On is a convenient, yet secure way of authenticating a user.
Most customers are already running an Identity Provider (IDP) that supports Single Sign-On through the SAML 2 protocol, e.g. Active Directory, OneLogin, or Okta.
Benefits of using SSO
Integrating SSO into Userlane makes sure that
- your user can benefit from its content by using credentials they are using each day and in multiple places
Userlane is silently and seamlessly rolled out to all end users
your users do not have to do anything in order to see Userlane.
How it works
In the following section, we refer to three different stakeholders who need to align in order to get the integration up and running smoothly:
| Company IT Administrator | Company Application Owner | Userlane Customer Value Manager |
|---|---|---|
| Sets up the installation on the customer's side. | Has requested that Userlane runs on their application | Point of contact at Userlane for the installation and person who supports App Owner regarding any requirements |
In concept, this is how users are seamlessly authenticated for Userlane:
User authentication logic
First time authentication is triggered immediately when User opens the browser with an installed Userlane Browser Extension. If the authentication is not successful, the attempt is repeated exponentially (every 2, 4, 8 minutes and further) until it reaches the frequency of 48h. After that the re-try is triggered every 48h until successfully authenticated.
An already authenticated user will try to refresh the user attributes according to the setting in the Userlane Portal. The refresh is done by re-authenticating.
Configuration
1. Receive relevant data
Ensure your IT received the Implementation One Pager provided by Userlane.
Throughout the Configuration your IT will have to provide:
- IDP entrypoint URL
- IDP certificate
- list of relevant and available attributes in SSO
- SSO Window Mode
- SSO Refresh Interval
2. Add Userlane to your IDP to connect SSO
You need to pass the Userlane metadata to your IT.
You can find detailed instructions per provider:
3. Add the Certificate and Entry point URL to the Userlane Portal
Sign in to Userlane Portal > Settings > Single Sign On

4. Authenticating the user via Single-Sign-On
To authenticate the current user towards Userlane, a Single-Sign-On (SSO) flow can be started in a new tab or in the background. Through this, it is also possible to provide more details about a user to Userlane so that specific content can be shown to user segments.
Go to Userlane Portal > Settings > Browser Extension

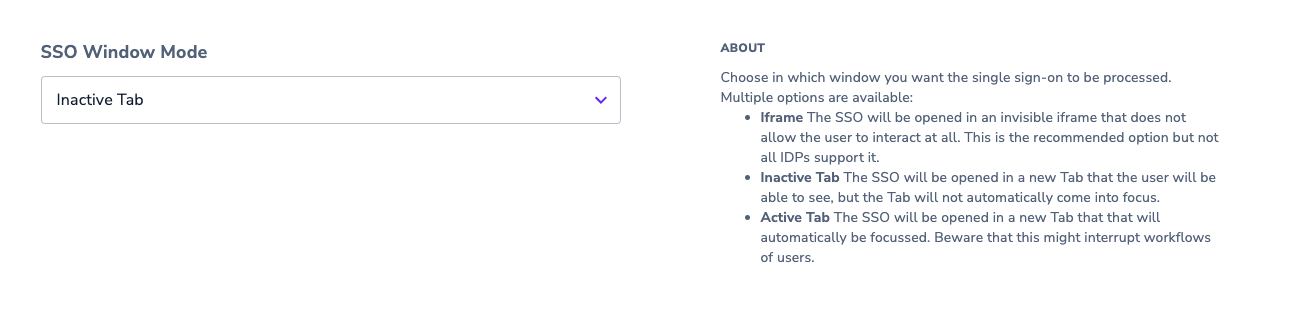
5. Choose the SSO window mode
Choose in which window you want the single sign-on to be processed. Multiple options are available:
- Iframe The SSO will be opened in an invisible iframe that does not allow the user to interact at all. This is the recommended option but most IDPs do not support it.
- Inactive Tab The SSO will be opened in a new Tab that the user will be able to see, but the Tab will not automatically come into focus.
- Active Tab The SSO will be opened in a new Tab that will automatically be focussed. Beware that this might interrupt the workflows of users.
⚠️ At a later stage, the authentication will be automatically triggered by the Userlane Browser Extension. Please make sure that all users who receive the extension are able to authenticate via the SSO. This is to avoid users seeing an inactive tab with authentication error. This behaviour may occur e.g. on private browser profiles or for users who are not part of the SSO group.
⚠️ EntraID does not support Iframe as Window Mode.
6. Choose refresh interval
Make sure to choose how often you want to repeat the SSO for already authenticated users. This assures that user attributes are kept up to date.
For doing this: sign in to Userlane Portal > Settings > Browser Extension then in the dropdown SSO Refresh Interval choose one of the available options.
⚠️ Choosing the "Disable Refresh" option prevents the SSO authentication flow from being re-triggered, meaning updates to user attributes will not be retrieved.
⚠️ Keep in mind that the shorter the interval, the higher the load on your IDP will be.
7. Testing the Integration
7.1. Test the integration
Test the SAML connection with the test link under Userlane Portal > Settings > Single Sign On.

It should bring the user to your IDP login page or (if they are already logged in to their IDP), then to the Chrome or Edge extension store to install the Userlane BE or (if they already have the extension installed) they are brought to a Userlane page with a list of Userlane properties.

Any of these results mean that SSO has been successfully configured.
If there’s an error (e.g. invalid signature, entry point URL missing “SAML”), please review our Troubleshooting List.
Alternatively you can use this link:
https://sso-saml.userlane.com/c/COMPANYID/authenticate
7.2. Review the attributes that are passed on
Once SSO succeeds, validate that your attributes (region, role, etc.) are correctly passed and available.
Go to Userlane Portal > Settings > Company Users.
Click on a Company User and review what information is passed. If any attribute is missing, please add it following the instructions here.
At a Glance
This video outlines the most relevant steps to seamlessly rollout Userlane.
Best Practice
At times, SSO sends data with a long key that makes it difficult to work with when setting up User Segments. You can adjust the title of any attribute under Userlane Portal > Settings > Company Attributes
Click on the attribute and change the title.

