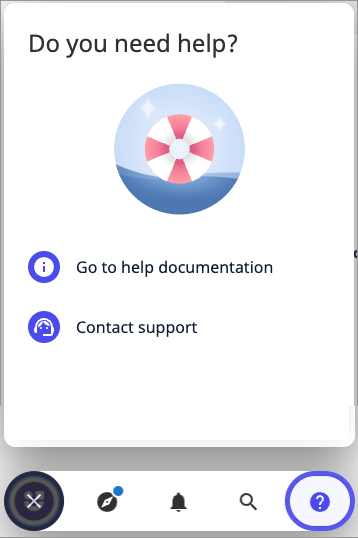
About Assistant Help
The Assistant Help option allows you to add two links to additional resources such as a help center, support chat, or a communication platform channel such as Slack or MS Teams. Enable the Help button to link users directly to these resources without leaving your application.
Add and enable links
We display two default use cases for the links but you can provide links to any resource that you think would be most helpful to your users. Remember to change the default texts of the links if you are linking to resources other than documentation or your application's support. See Customize the Help option, below.
To add a link:
- Go to Customize > Help in your Userlane Portal.
- Enter the full URL of your link in the Documentation Link input field, e.g. https://docs.userlane.com.
- To add a second link, enter the full URL in the Support Link input field.
- Once you are ready to activate a link for your users, enable the corresponding Display Link toggle.
Customize the Help option
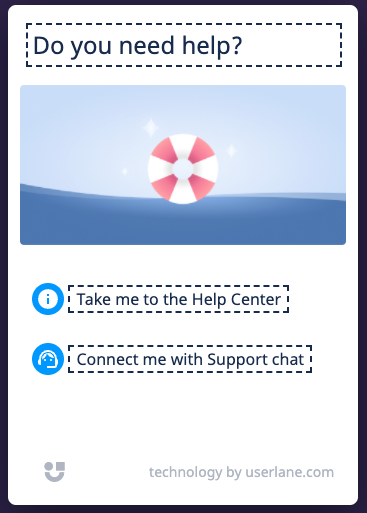
To edit the default texts for the title and links:
- Go to Customize > Texts in the Portal.
- Locate Assistant in the right sidebar, then select Help.
- Enter the new text in the dashed input fields for the title and link labels as needed.

- Click Save Your Changes.
To change the default Help image:
- Go Customize > Design in the Portal.
- Locate Help Desk in the right sidebar, then click Upload Image.
- Drag an image file to the upload window or click Select File to choose an image from a storage folder. A preview of the Help window displays.
- Click Save Your Changes.ℹ️ You can upload a PNG, JPEG, or GIF file with a maximum size of 8MB. The recommended image proportions are a 4:2 ratio and 652x320px resolution. See more about how Userlane displays your images in our Working with images article.

