Single Sign-On is a convenient, yet secure way of authenticating a user - without them having to set up a new password.
Requirements
- access to Azure Portal
- access to Userlane Portal
Set up SSO for Azure Active Directory
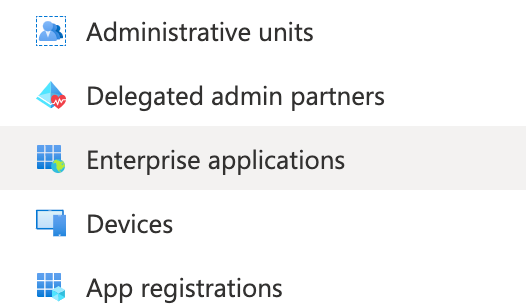
Open the Azure Portal and navigate to Azure Active Directory / Enterprise applications.
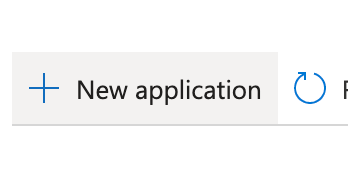
Click on “New application”
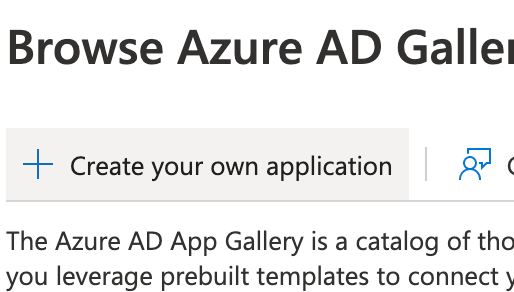
Click on “Create your own application”
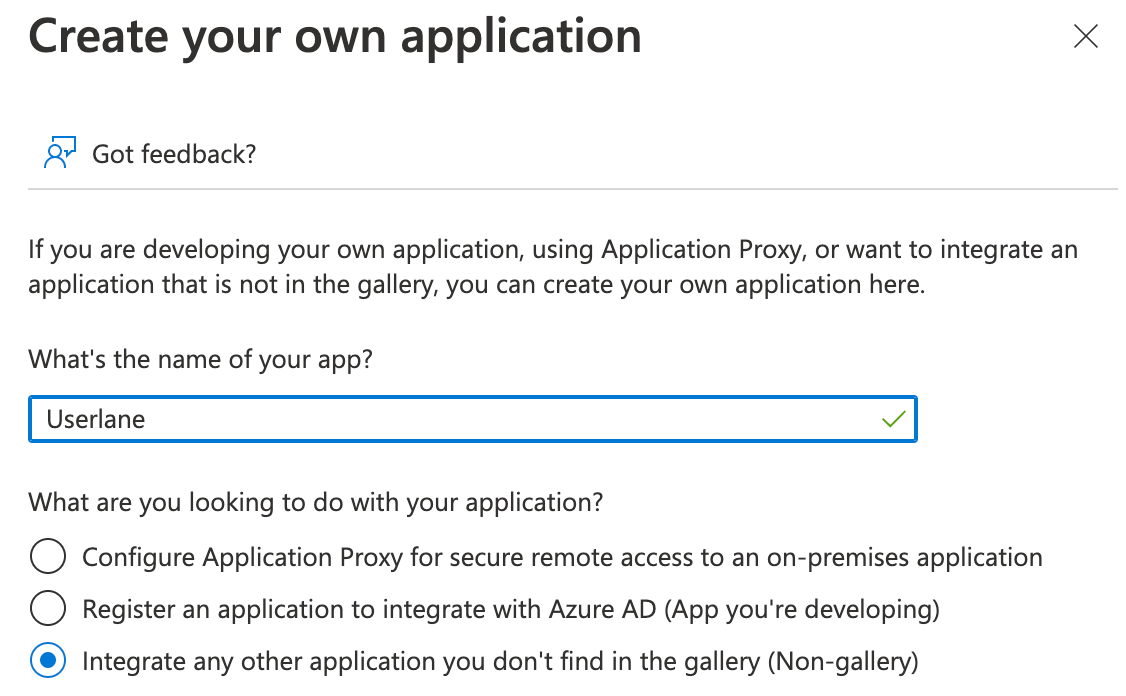
Enter a name for your application. This can be whatever you like, for example “Userlane”. Confirm the creation.
Open the “Properties” page from the menu on the left
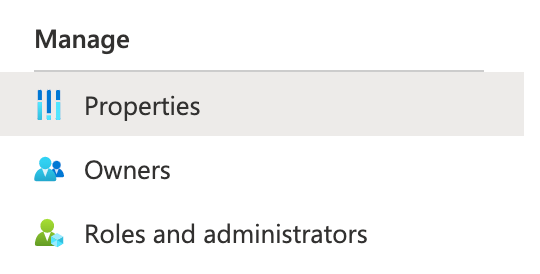
Set the “Assignment required” option to “No”. This allows all users to sign into Userlane if needed.

Open the “Single sign-on” page from the menu on the left
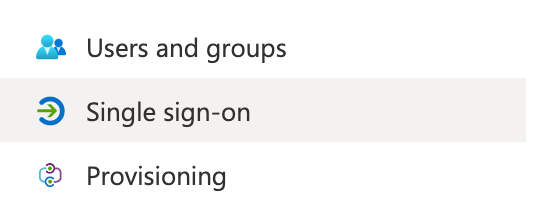
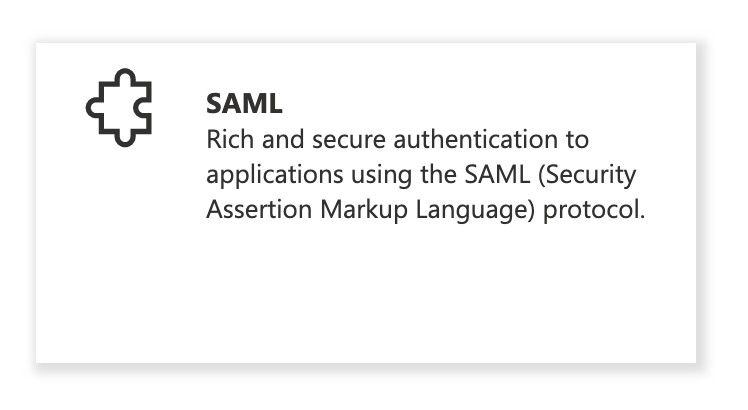
Select “SAML” as the single sign-on method
Click “Edit” on the Basic SAML Configuration fields
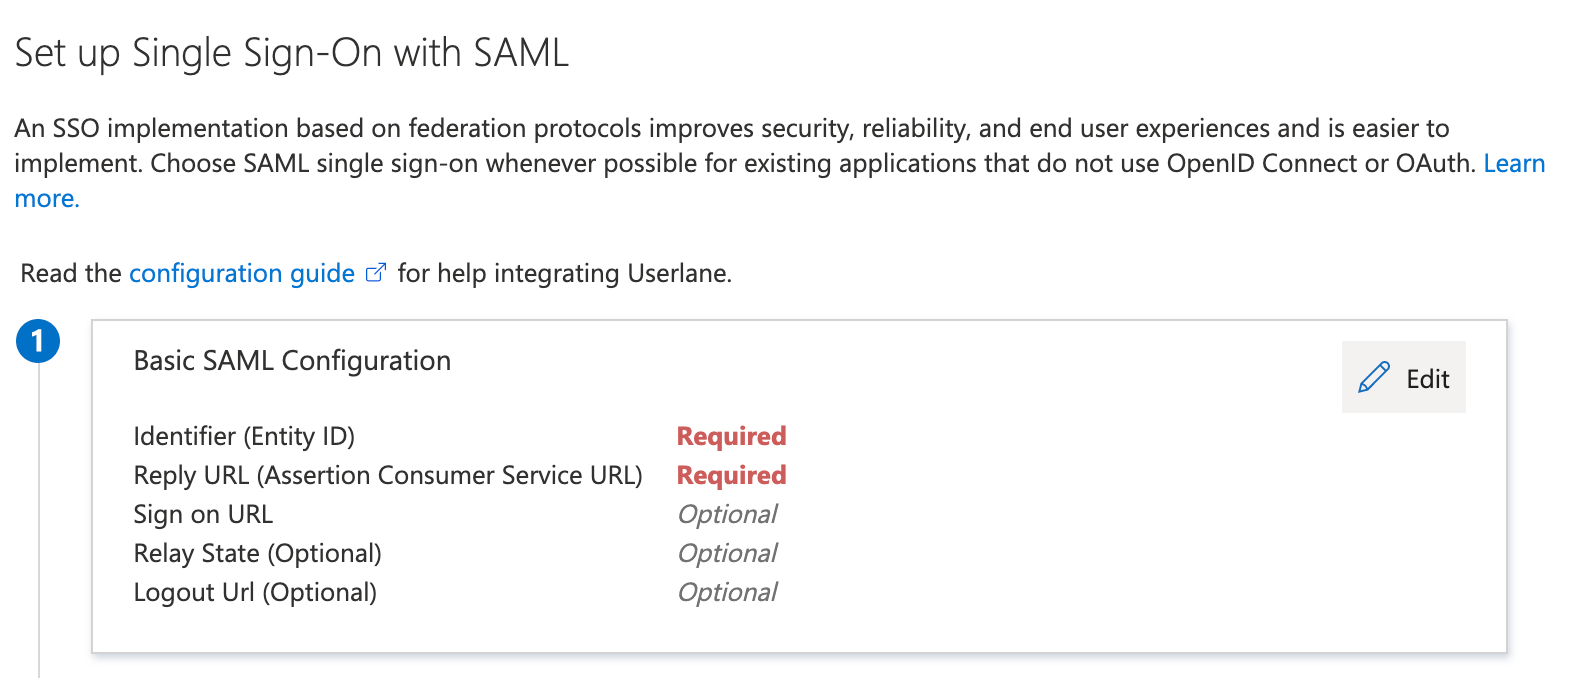
Now fill the Identifier and Reply URL with the value that you can find in the Userlane Portal under Account > Global settings > Single Sign-on. This typically looks like a URL starting with https://sso-saml.userlane.com/.. We tried to make this as easy as possible for you at Userlane, so this same value goes into both the Identifier and the Reply URL. Save these changes.

Optional step: If you want to segment users based on attributes in their profile, you can add “Attributes & Claims” in the second step of the “Set up Single Sign-On with SAML” page.
Typically we see that customers want to include attributes like country, department, or other organizational attributes to show the right training & enablement content to users.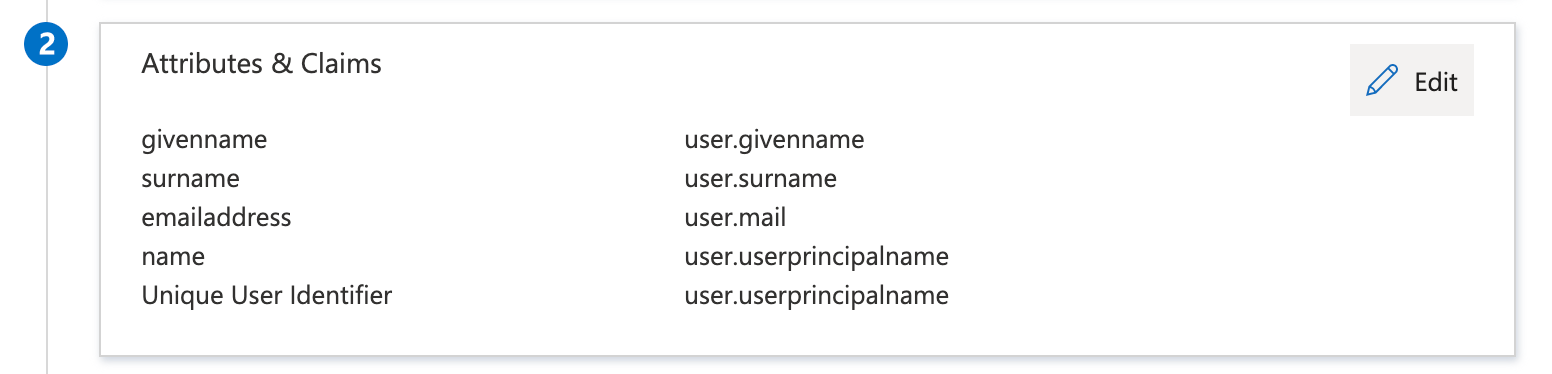
This completes the setup on the side of Azure Active Directory. The remaining steps are about configuring Userlane to trust your Azure Active Directory and also need to be completed to enable Single Sign On.
Scroll down to Step 4 of the “Set up Single Sign-On with SAML” page, and copy the Login URL.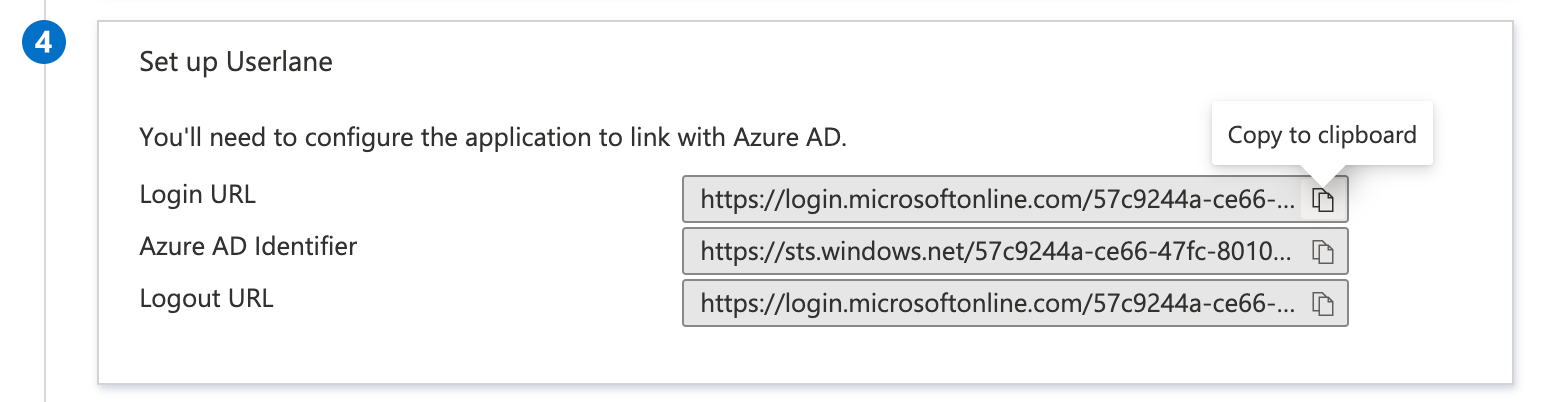 Paste this Login URL into the “IDP Entrpoint URL” field in the Userlane Portal’s SSO configuration page (Account > Global settings > Single Sign-on).
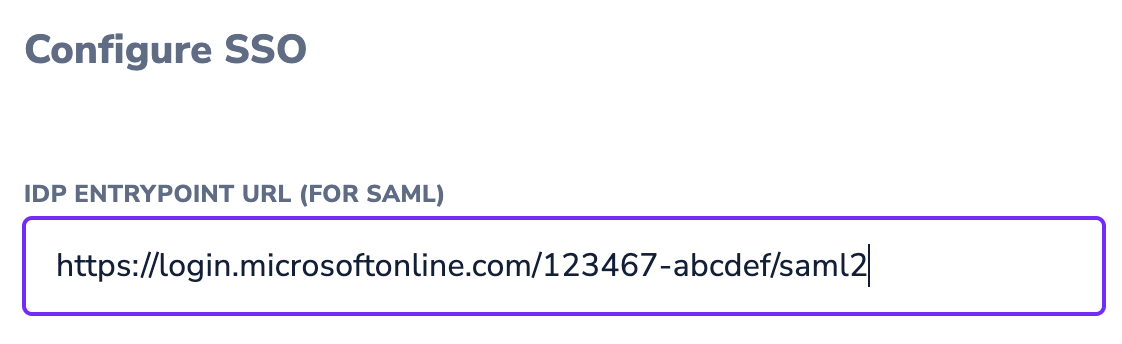
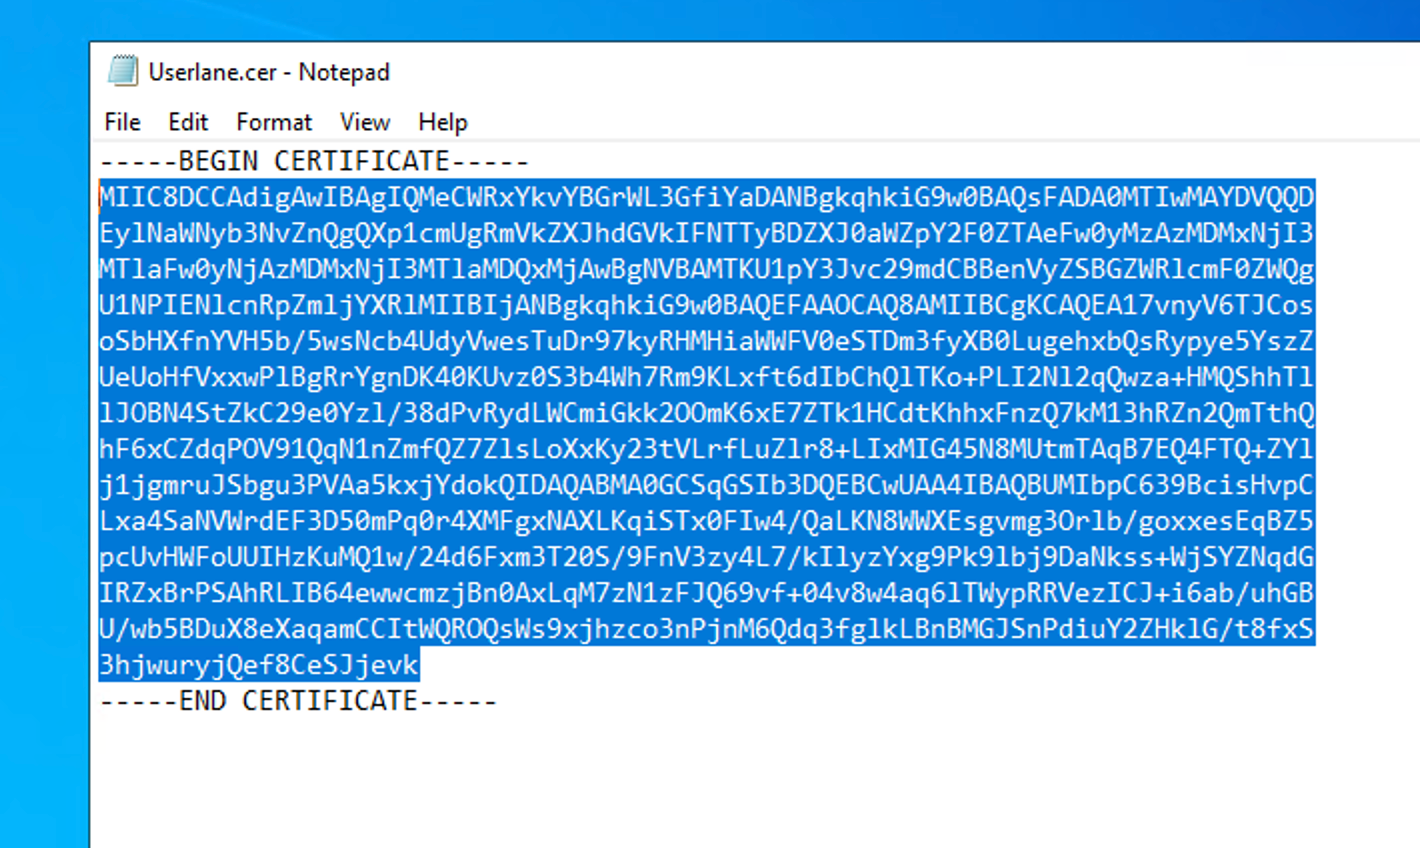
Back on the Azure Portal page, click on “Download” of the SAML Certificate in Base64 format in Step 3.
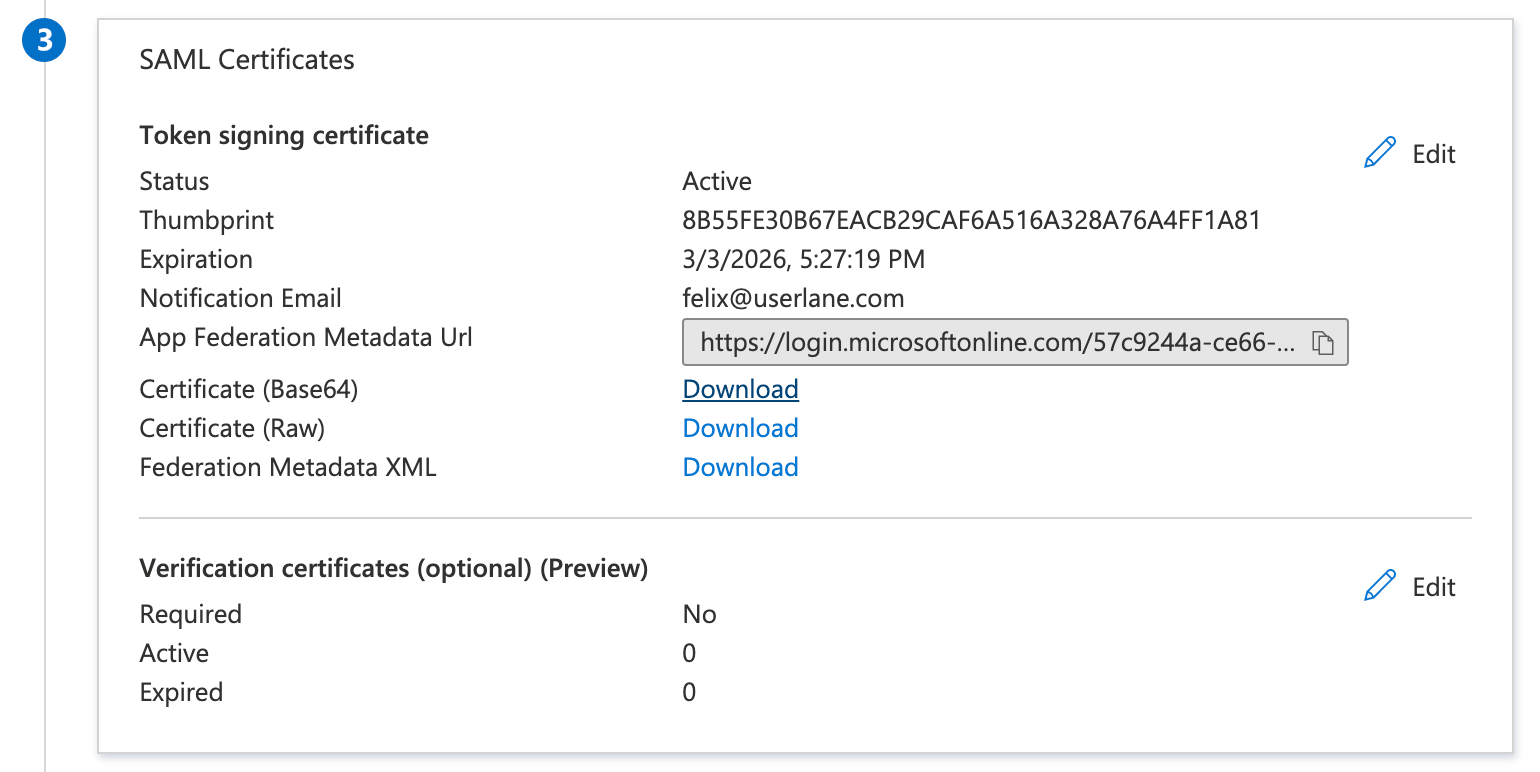
Open the downloaded .cer file in a Text Editor of your choice (e.g. Notepad by right-clicking on the file and then Open With) and copy the part inside of the -----BEGIN CERTIFICATE----- and -----END CERTIFICATE----- part to your clipboard.


 Paste this Login URL into the “IDP Entrpoint URL” field in the Userlane Portal’s SSO configuration page (Account > Global settings > Single Sign-on).


2. Add information to Userlane Portal
Continue with step 3 from the article on setting up SSO for Userlane.
At a Glance
This video outlines the most relevant steps to seamlessly rollout Userlane.
