About Self-Hosting
This article describes how to implement Userlane for the self-hosting version which allows you to
- download and self-host the Userlane executable file and all content
- run Userlane completely independent from an internet connection or from behind strict firewalls.
This requires involvement from both someone with access to your Userlane Portal and a developer.
Please follow the steps to set it up:
As a Userlane Manager
Download the Self-Hosting-Package zip file and send it to your developers
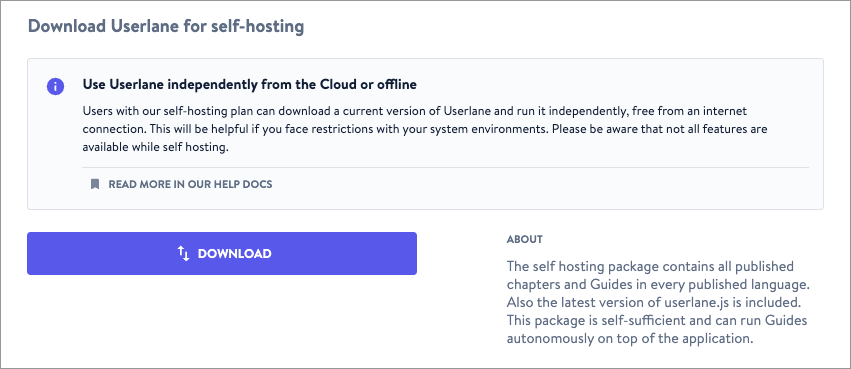
- Download the Self-Hosting Package and share it with your developers. Ensure your Guides are ready. Sign in to the Userlane Portal, go to Settings > Snippet Setup, and click Download.
- The package size is under 10MB, facilitating quick download and easy forwarding via email to your developers.
As a Developer
1. Unzip and save the zip file
The downloaded zip file contains only .css, .js, .json, .txt and .html files. How exactly the content looks like in detail depends on you and your environment.
Copy the unzipped contents to a location where they are accessible through getting requests. A typical location is the assets folder of the application itself.
2. Test that the files are accessible
Open the userlane.html that was included in the zip in your browser using an HTTP or HTTPS protocol (Note: do not use the “file” protocol that your browser might support). You should see a small page that also contains the snippet for the next step.
3. Get your snippet
If the snippet worked fine in the previous step, use the snippet that is provided by userlane.html. Otherwise, you can manually generate a snippet:
Copy the part of the URL from the beginning until before “userlane.html”.
In the example snippet below you see two URL-parts. Paste the copied URL into those two parts for the placeholder text 'example.com':
For both of those URL-parts and for the init command in the example code below, replace the example property id “31204” with your individual property id (five signs). You find your individual property id in the name of the zip file (e.g. “userlane-app-31204”).
<script>

(function(i,s,o,g,r,a,m){i['UserlaneCommandObject']=r;i[r]=i[r]||function(){ (i[r].q=i[r].q||[]).push(arguments)};a=s.createElement(o), m=s.getElementsByTagName(o)[0];a.async=1;a.src=g;m.parentNode.insertBefore(a,m) })(window,document,'script','https://example.com/userlane/31204/userlane.js','Userlane');

Userlane('init', 31204, {
   enableHybrid: true,
   hybridBaseUrl: 'https://example.com/userlane/31204/'
});

</script>
4. Implement the snippet
Implement the snippet before the '</body>' tag in the HTML template to execute it on every page reload. Test if userlane.js loads correctly and no XHR requests fail. Access the Userlane Assistant in your application.
Further Considerations
- This service is available only for Hybrid Hosting plan customers.
- Self-hosting lacks some analytics and process-tracking features due to the absence of connection to the Userlane cloud.
- Starting a Userlane via a link differs in Userlane Self-Hosting.
- Whenever you make changes to your property in the Portal or Editor, re-download and implement the ZIP file in your self-hosting setup.
- Refer to the provided link for a detailed description of Self-Hosting limitations.
For more information please reach out to your Customer Value Manager.
