What is it?
Single Sign-On (SSO) allows users to authenticate with multiple applications using just one set of credentials. In the context of Userlane, we have two separate SSO configurations:
- Single Sign-On for Managers concerns access to the Userlane Portal, where Managers can add new applications to Userlane, view HEART and content analytics data, as well as manage Userlane content and customize their Userlane application.
- Single Sign-On for End Users authenticates users to see and interact with the Userlane Assistant as well as contribute to HEART data. To set up SSO for End Users please read on here.
Why use SSO for Managers?
SSO is a secure way to authenticate Userlane Managers that offers two key benefits once enabled:
- Central User Management: With SSO enabled, IT Admins can centrally manage who has access to the Userlane Portal. For example, if a user leaves the company, their access can be centrally disabled in the company's Identity Provider and Access Management tool.
- Increased Security: SSO also increases security to business-critical data such as that found in the Userlane Portal. By authenticating with one set of credentials, the risk of compromised passwords leading to data breaches is heavily reduced.
How to set up & enable SSO for Managers
On the Team Management page in the Userlane Portal, Managers with the Admin Role will see the option to enable SSO for all Team Members in their Userlane company.
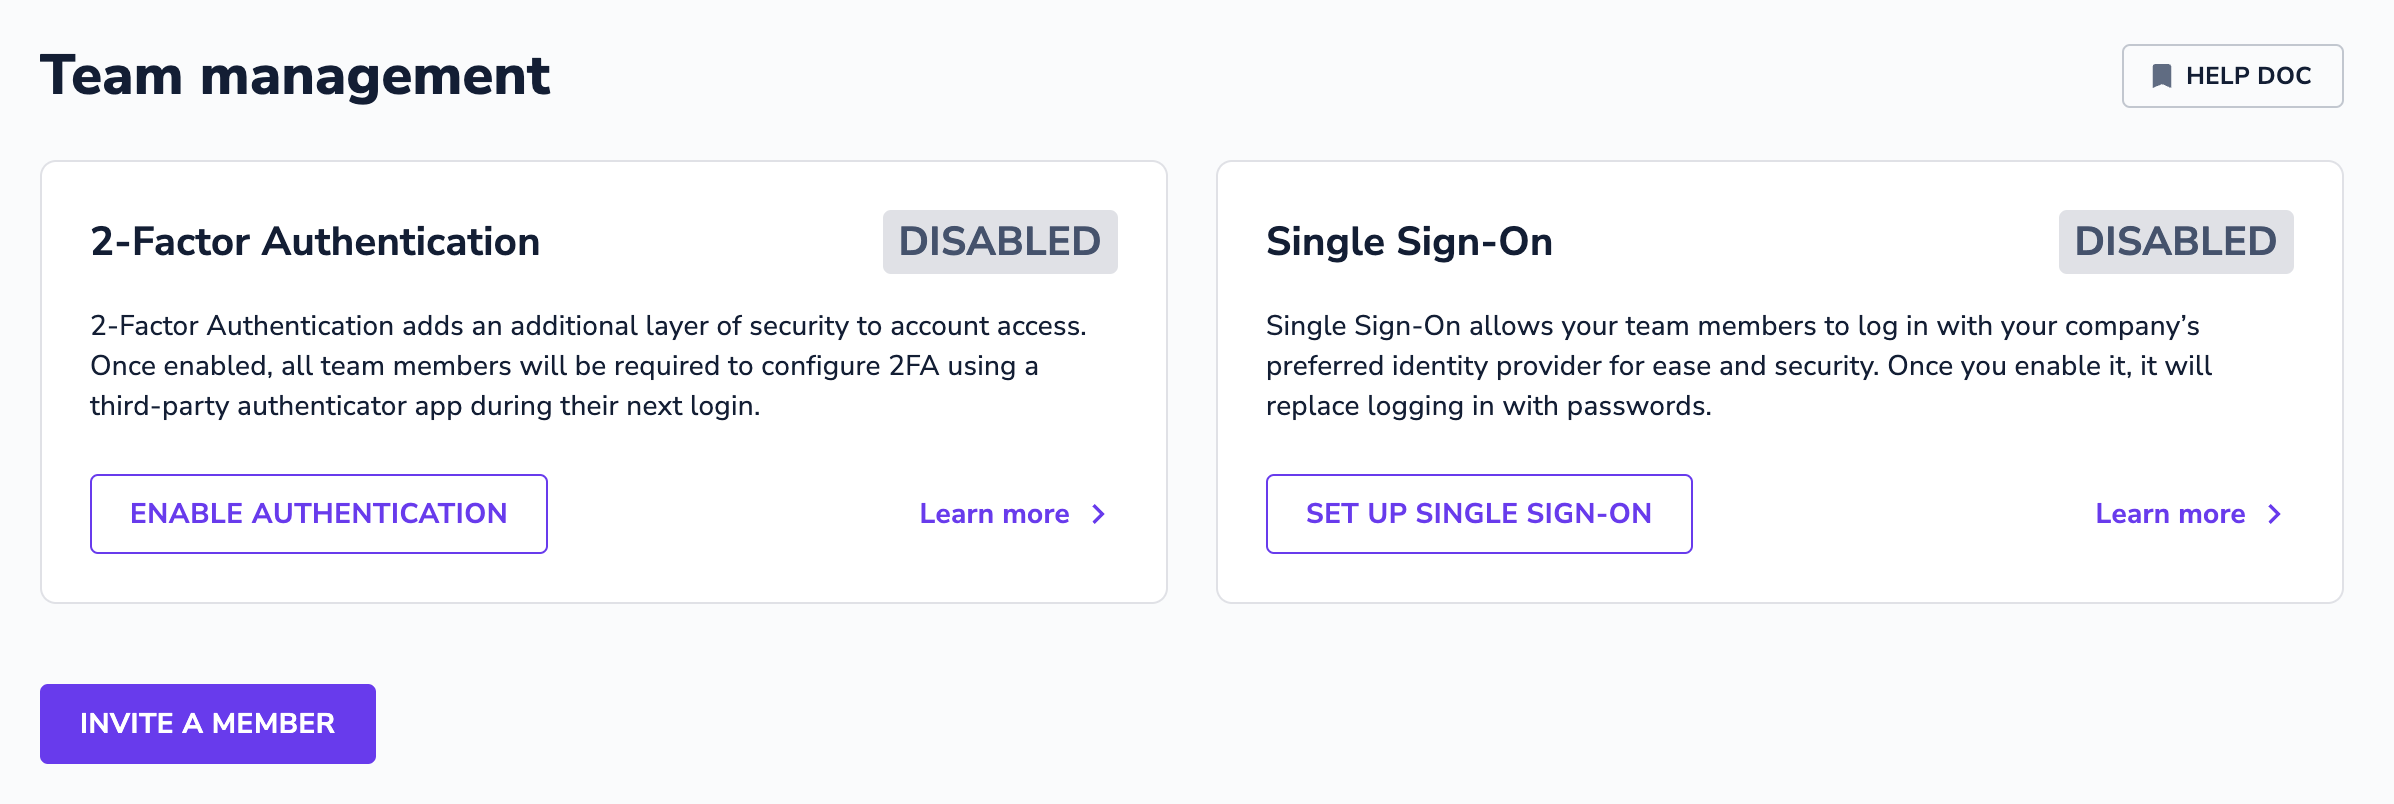
After clicking 'Set Up Single Sign-On', Admins will be directed to a new page to complete the set up and enable SSO. As shown below, there are 3 steps to setting up and enabling SSO for Managers.
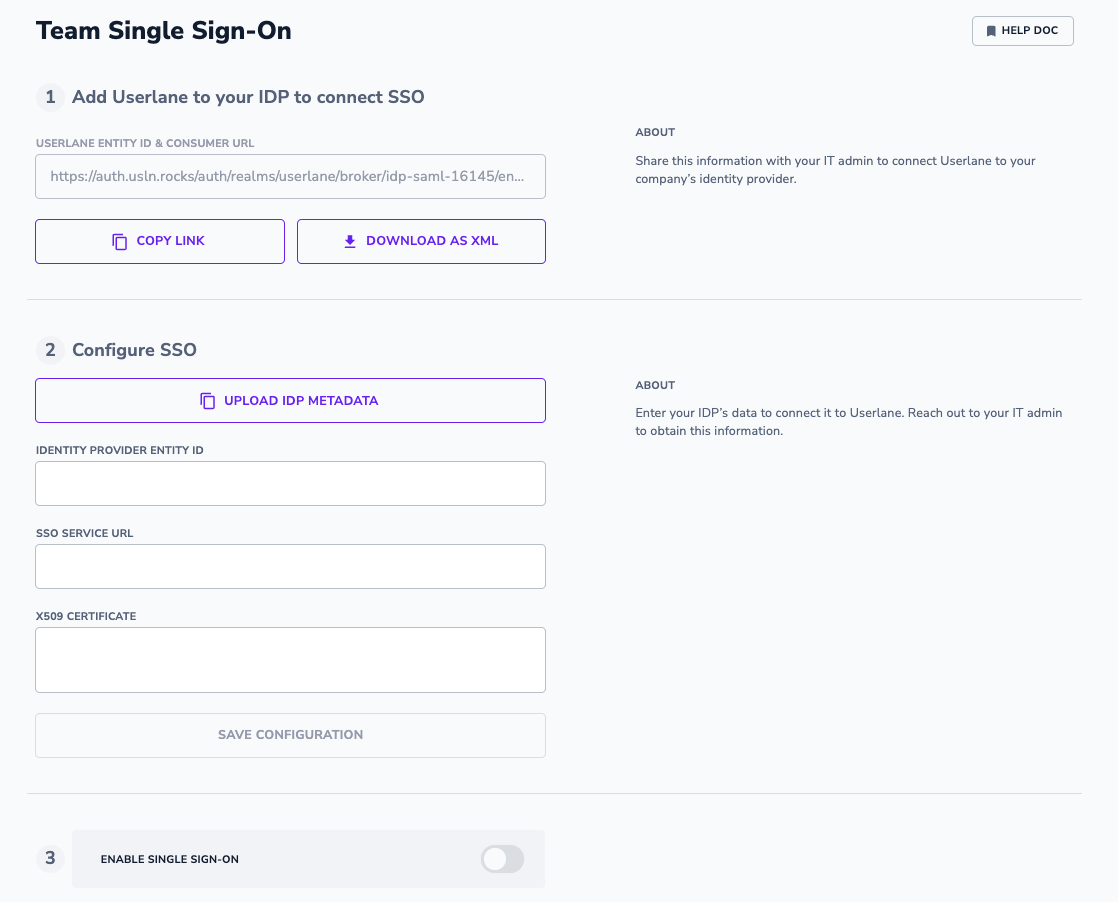
Step 1
To configure SSO, you must first add Userlane as a trusted application to your Identity Provider (IdP). In this step, you are provided with the metadata needed to do so. You can access that metadata either as a link or by downloading it as an xml file. Please pass it along to your IT team who can add Userlane as a trusted application.
Please make sure that you use the email as identifier.
Helpful links from common Identity Providers:
- Microsoft Entra ID
- Google Workspace
- OneLogin
- Microsoft ADFS
- Create a Relying Party Trust
- For AD FS, you must add a claim Rule to your configuration. Please refer to this article on how to do so.
Step 2
In step 2, you need to add the metadata from your own Identity Provider in Userlane to establish the SSO connection. There are two ways to do so:
- If you received the metadata from your IT team in the form of an xml file, you can simply click 'Upload IDP Metadata' and select the MetaData.xml file from your file explorer. This will auto-fill the form fields for you with the right information.
- You can also enter the metadata information manually into the form. Or edit the information as needed, for example, if you need to update a SAML certificate.
After the metadata has been entered, be sure to save your configuration. Upon saving, the metadata you entered will be saved in the Userlane Portal but SSO will not be enabled.
Step 3
In step 3 you can enable SSO for Managers when you are ready. Once enabled, the SSO login flow will be activated for your Userlane Team. All users will be required to authenticate with Userlane via SSO, except for those who have been marked as being able to 'Bypass SSO'.
Bypass SSO
Admins can determine if any of their Userlane Team Members should be able to bypass SSO and still log in to the Userlane Portal with their email and password. For new users, you can activate this setting when inviting them to Userlane for the first time.
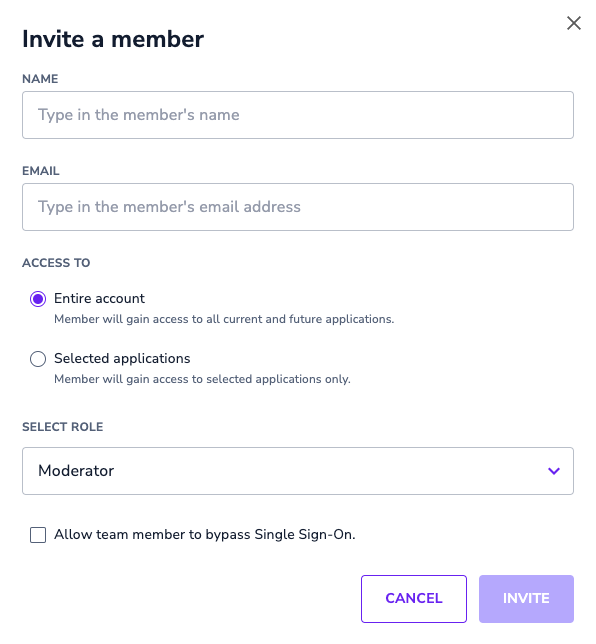
For existing users, if you would like to activate the bypass SSO setting, simply edit their permissions by clicking on the 3 dots next to their user entry and open the permissions window.
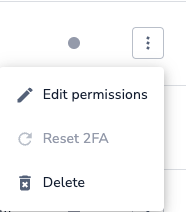
By default, this setting is active and cannot be deactivated for Admins!
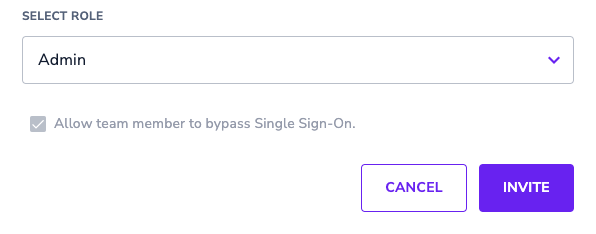
Why would I activate bypass SSO?
There are two primary use cases for which the bypass SSO setting is used:
- In the event that the SSO connection does not work, it is necessary that at least one Manager can access the Userlane Portal in order to update or deactivate SSO and allow other Managers to access the Portal.
- As SAML certificates often need to be updated, it can happen that the SSO configuration has expired and needs to be updated with a new certificate from your identity provider.
- This is why Admins have bypass SSO activated by default.
- If your company works with any external contractors or consultants to manage Userlane, it is possible that these users are not managed in your identity provider, meaning that SSO will not work for them. To ensure that they can still access the Userlane Portal, we recommend that bypass SSO is activated for them.
Modify or Disable SSO
Once SSO for Managers is enabled, Admins can easily and quickly Modify the SSO configuration from the Team Management page.
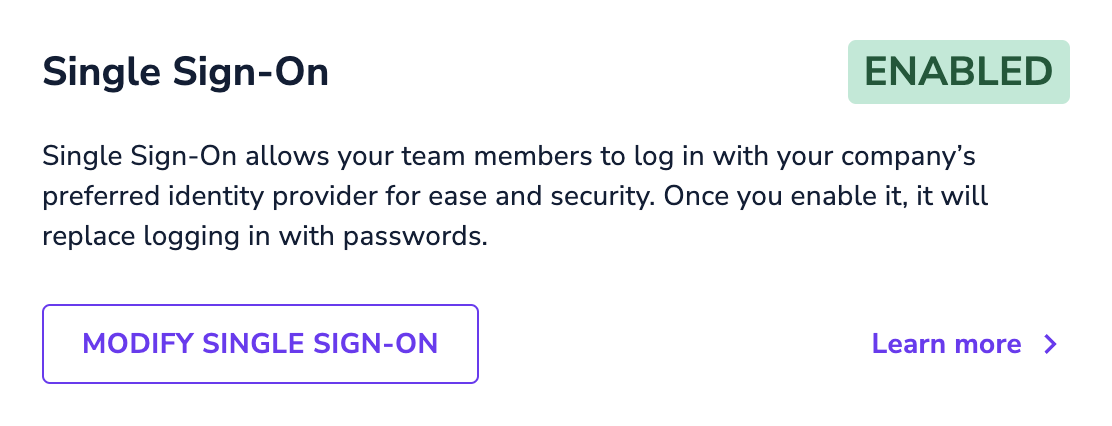
Upon clicking 'Modify Single Sign, Admins are brought to the configuration page where they can:
- Edit the existing configuration
- Delete the existing configuration
- Disable SSO using the toggle at the bottom of the page
Deleting the configuration will permanently remove the IdP metadata from Userlane!
